Step 1: Launch Quick Assist
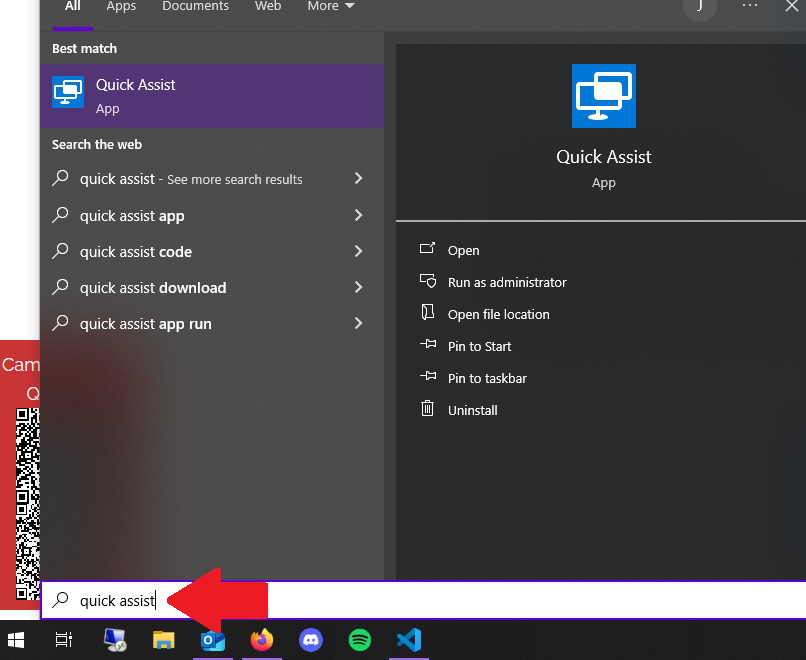
1. To Open Quick Assist: On Windows 10 or Windows 11, click the Start menu.
-Type Quick Assist in the search bar and select the Quick Assist app from the results.
-Alternatively, press Windows key + Ctrl + Q to launch Quick Assist directly.
2. Sign in
-If prompted, sign in with your Microsoft account. Both the helper and recipient must be signed in to proceed.
Step 2: Choose Your Role
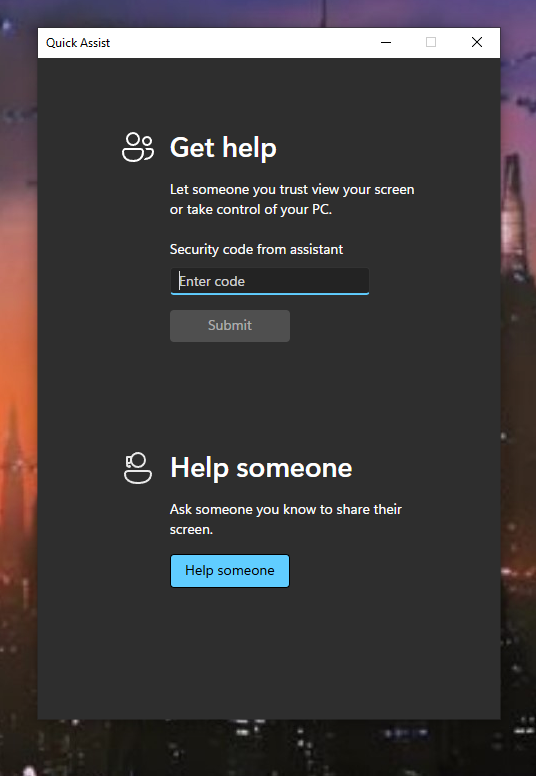
Windows Quick Assist offers two options:
-Get Assistance: For users who need help.
-Give Assistance: For users providing support.
1. To Provide Assistance:
-Select Give Assistance and sign in with your Microsoft account if not already signed in. Quick Assist will generate a 6-digit security code valid for 10 minutes.
Share this code securely with the recipient (e.g., via email or phone).
2. To Receive Assistance:
-Select Get Assistance.
-Enter the 6-digit security code provided by the helper and click Submit.
Step 3: Establish the Connection
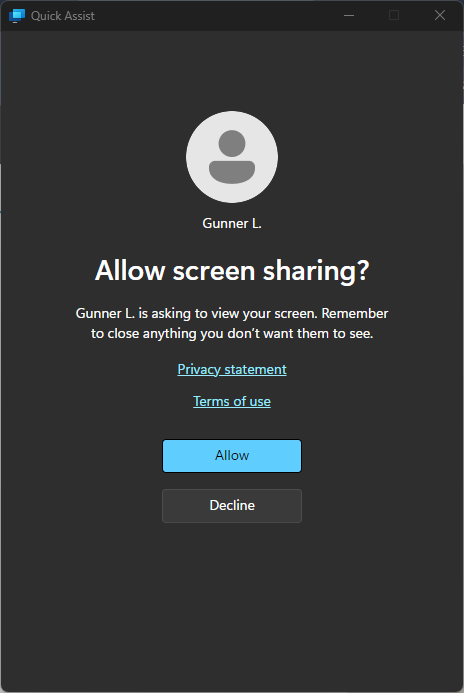
1. The Recipient’s Approval:
-The recipient will receive a prompt to allow the helper to view or control their screen.
-Choose one of the following options:
-View Screen: Allows the helper to view the screen without control.
-Take Full Control: Grants the helper full control of the recipient’s device.
-Click Allow to proceed.
2. Connection Confirmation:
-Once approved, the helper will see the recipient’s desktop in the Quick Assist window, and the session will begin.
Step 4: Use Quick Assist Features
During the session, the helper can either:
-Control the Desktop: If granted full control, the helper can interact with the recipient’s desktop as if physically present.
-Annotate: Use the Annotate tool (pencil icon) to draw or highlight areas on the screen for instructional purposes.
-Restart the Remote PC: If needed, the helper can initiate a remote restart (requires recipient approval).
-Task Manager Access: Open Task Manager remotely to troubleshoot performance issues (requires elevated permissions).
The recipient can pause or end the session at any time using the Quick Assist toolbar.

Step 5: The Session
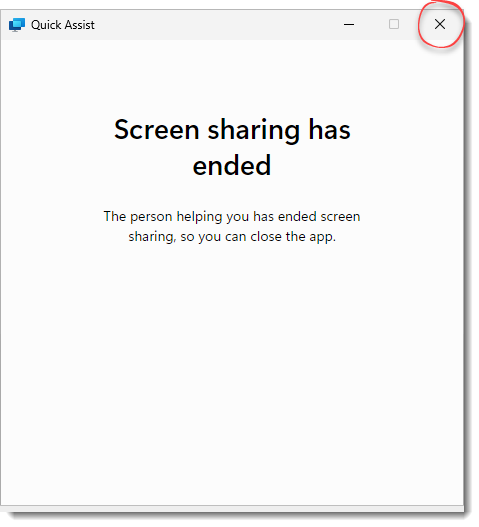
1. Either party can terminate the session by clicking the X (Close) button in the top right of the Quick Assist window.
2. Confirm the session closure when prompted.
3. Quick Assist will disconnect, and no further access will be granted unless a new session is initiated.
Zoom Screen Share

Step 1: Schedule/Start a Zoom Meeting
1. Launch Zoom: Open the Zoom desktop client or mobile app and sign in with your organizational credentials.
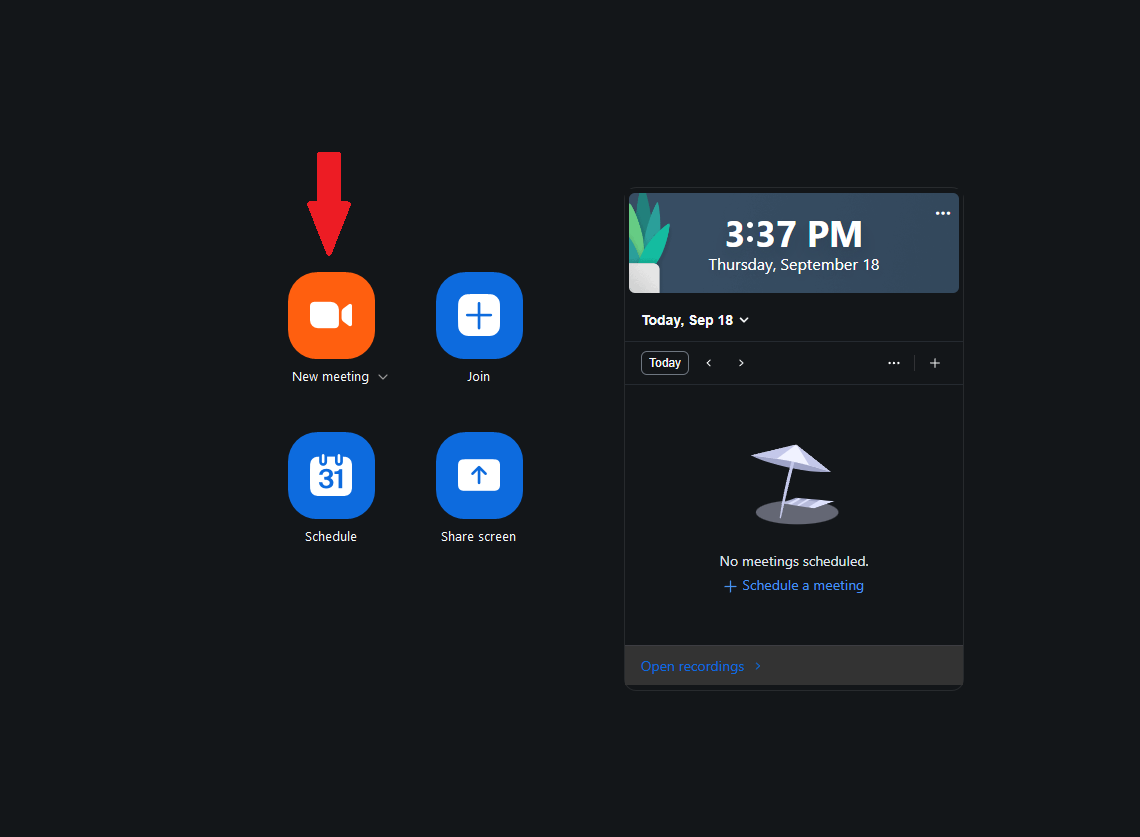
2. Initiate Meeting: Click New Meeting for an instant session or schedule via the web portal (zoom.us > Meetings > Schedule a Meeting). For remote support, select Instant Meeting or share the meeting ID/link securely with the recipient.
3. Join as Host/Participant: Ensure both the support provider (helper) and recipient are connected. The helper should be the host or co-host for full control.
Step 2: Enable Screen Sharing Permissions
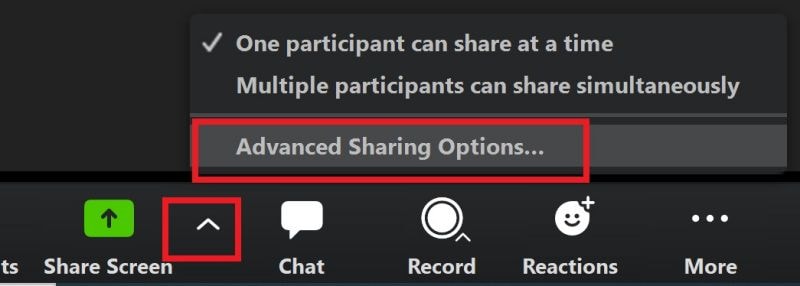
1. Host Configuration: As the host, click the upward arrow (^) next to Share Screen in the meeting toolbar.
2. Advanced Options: Select Advanced Sharing Options. Under "Who can share," choose All Participants to allow the recipient to share their screen. Limit simultaneous shares to "1" for focused support.
3. Remote Control Toggle: In Zoom Settings (profile icon > Settings > Share Screen), check Enable remote control of all applications. This allows the helper to request control during sharing.
Step 3: Share Screen for Remote Support
1. Recipient Shares Screen: Instruct the recipient (needing support) to click Share Screen in the meeting toolbar.
-Select content: Choose Desktop (entire screen), Window (specific app), or Portion of Screen for targeted areas.
-Optional: Check Share computer sound if audio diagnostics are required (e.g., error sounds).
-Click Share. A green "You are screen sharing" bar appears at the top.

2. Helper Views Share: The helper sees the recipient's screen in their Zoom window. Use View Options (top of shared view) to request annotations or control.
Step 4: Use Remote Control
1. Request Control: As helper, while viewing the shared screen, click View Options > Request Remote Control > Request. The recipient receives a prompt to approve.
2. Approve Control: Recipient clicks Approve (or Give Remote Control from their toolbar). On Windows, allow UAC prompts if elevated access is needed.
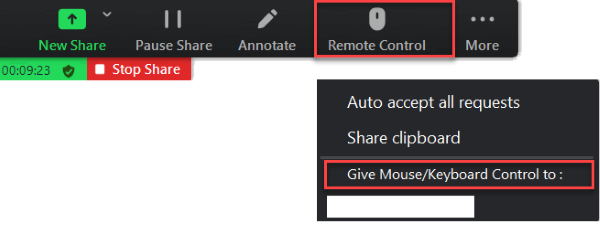
3. Interact Remotely: Helper can now use mouse/keyboard on the recipient's screen. Features include:
-Annotate: Click the annotation icon to draw, highlight, or add text for guidance.
-Restart Remote PC: Under Remote Control, select Computer Restart (requires approval).
-Clipboard Sharing: Enabled in settings for copy-paste across devices.
Step 5: Sharing and Session
1. Stop Sharing: Recipient clicks Stop Share in the green bar. Helper can select Give Up Remote Control if active.
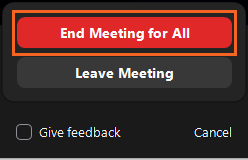
2. End Meeting: Host clicks End Meeting for All or Leave Meeting. Confirm disconnection.